Categories
Ranch

New Garage (in 3 days)

When Anna and I bought our property 5 years ago, the only problem was an old, falling-apart shed that needed replacing. Replacing it has been on our “To Do” list every summer for 5 summers, and we finally got around to doing it.

I call the shed “old” but it’s actually just not well built: the biggest problem being that the roof is practically flat, so rain water just sat on the roof tiles until it soaked through and destroyed the roof. There were still a few dry patches that were very useful for storage, so we never took it down.

This year, we fixed it! Although not as epic as building it ourselves; this was definitely much faster. The hardest pert was taking it down and preparing the foundation for it.

Buddy helped us take it down
Categories
Epic Barn Project Mocha

Barn Update: Trakehner Logo

Looking back, I realized I forgot to post when Grandpa Joe, Geo and Anna added the trim to the barn; or when Ross, Carol and Anna stained the entire barn; or when Carol and Anna painted the entire metal roofing green… So hopefully this post will cover all of that:

A couple weekends ago, we started a little project to add a Trakehner Logo to the barn gable. Here’s the progress:

First we had the Trakehner logo printed out on a 36″ tall sheet of paper. Using a razorblade, we cut the design into the wood. We made the cuts visible with a sharpie, and cut the logo out with a jigsaw.

Trakehner Logo in board

Then Anna painted it and I put it up on the barn:

Categories
Mocha Ranch Snow

Lake Anna

We had an interesting thing happen this year when the snow melted. Instead of making a cute little frozen pond for us to “ice skate” on, it just kept growing. It kept snowing, raining and freezing until we ended up with a lake that is currently covering about 7 acres (including the road between our house and the neighbors).

Here’s a video where Ashton investigates where all this water is coming from:

Categories
Epic Barn Project Ranch

Epic Barn v1.0 – Completed!

I really can’t believe it. Old man winter really gave us a break this year. It’s almost thanksgiving and we don’t have any snow on the ground. We got our first snow months ago, but it didn’t stick long enough to be annoying.

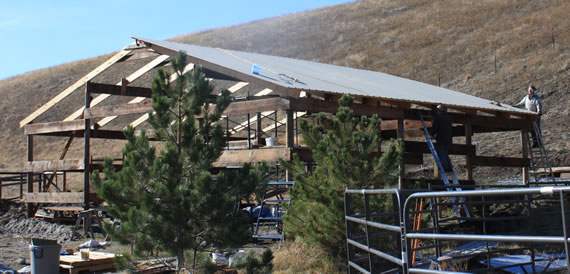
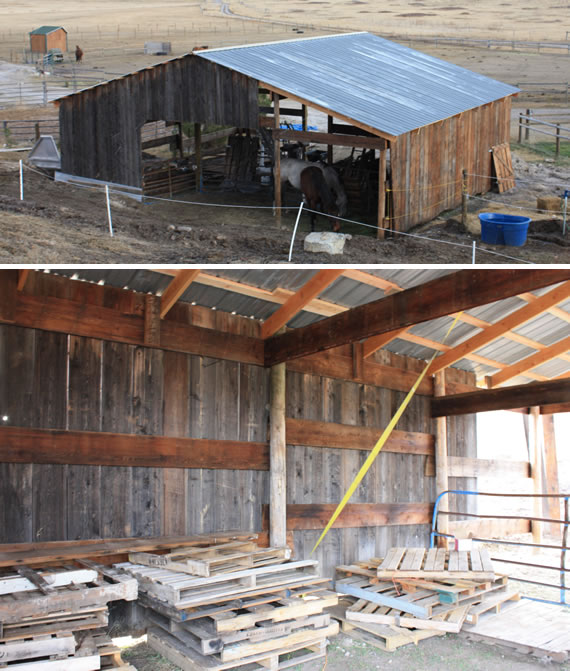
We have completed v1.0 of our Epic Barn! I’m calling it v1.0 because I’m sure we’ll be doing a lot of finishing work on it before it’s really done, but it is dry enough to put hay in!

Okay, here’s the pictures:

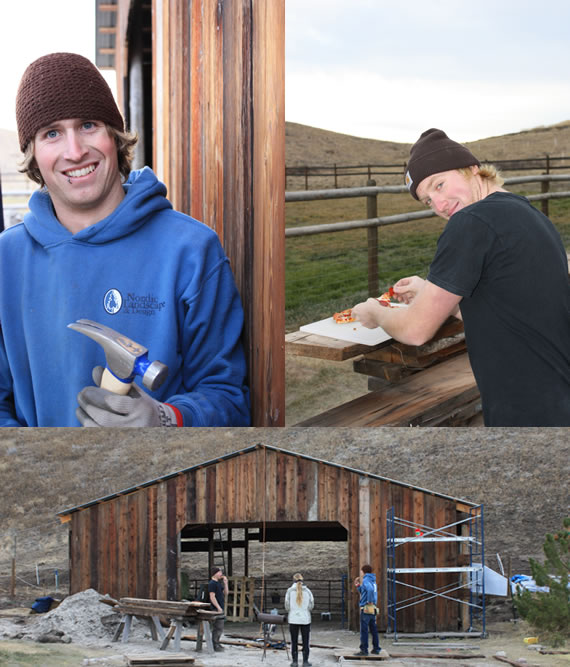
Here’s Donald doing his famous leg hold on the barn to get the hard to reach nails:
Epic Barn South wall

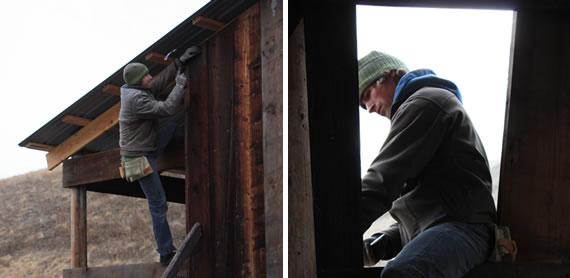
Here’s the south wall completed, which was pretty much done completely by Donald as I was called off to do a bunch of electrical work…
Epic Barn South wall

Honestly, this would not have been done before winter if it weren’t for the Stanfield boys. Donald and Casey did so much on the walls, it was ridiculous.
Donald and Casey

Nora and Liana have been testing out their new shelter and, so far, are really enjoying it.
Epic Barn

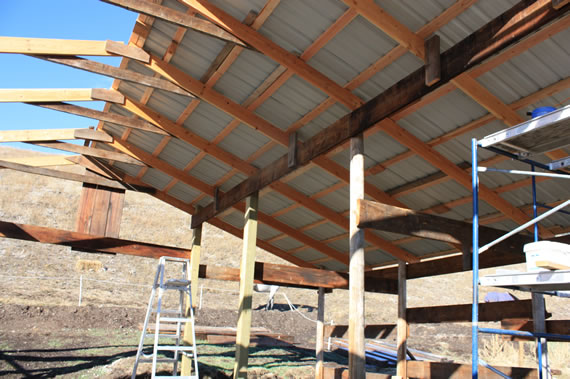
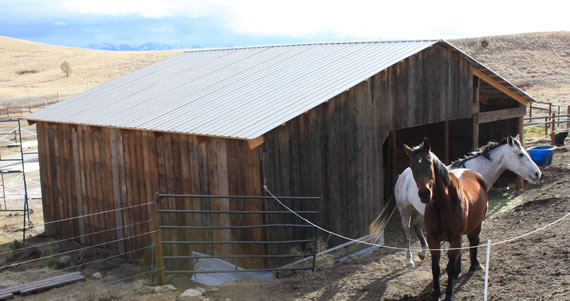
Finally, we completed the North wall!
Epic Barn North wall

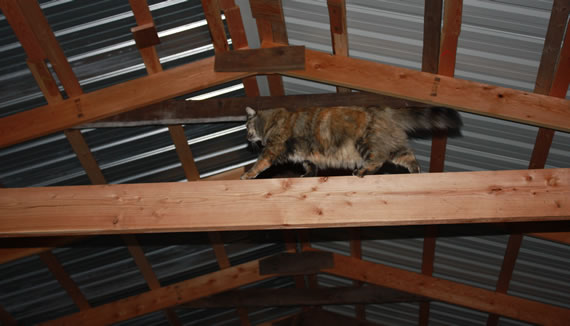
And what’s a blog post without Mocha? (This first pic is my new dual-screen desktop image.)
Mocha on the Epic Barn Roof

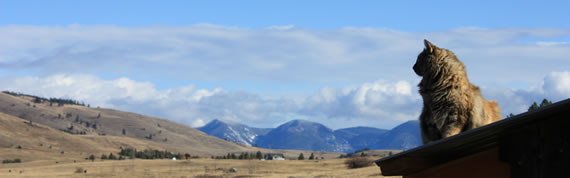
Mocha has learned how to climb up and down ladders and scaffolding. If we leave a ladder leaned up against a pole, she’ll climb up and walk around on the rafters.  I still have no idea how she got up the scaffolding…

Mocha in the rafters

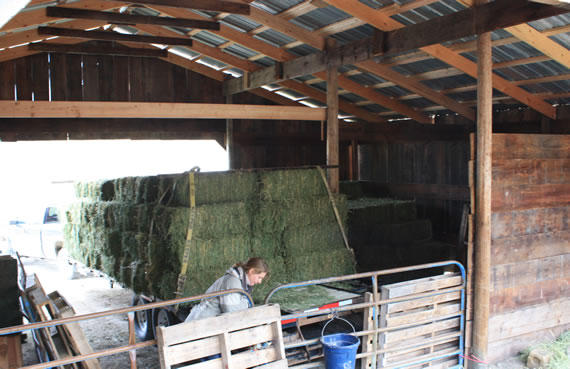
We have started filling up our new barn with hay for the horses. Here is what two tons of hay looks like in our epic barn:
hay Epic Barn
(You can see the horses on the far right of this pic. And since we were going to be stacking hay all the way up to the horses, we built a little wall to keep the nosy out of the hay stack.)

Here is 4 more tons of hay that has since been re-stacked in our barn and you can see the wall we built on the right side of the pic:
hay in the Epic Barn

Before I sign off, I’d like to make a thank you list of all the people who helped us build this epic barn:

Buzz and Connie
Donald
Grampa Joe
Buddy and Carol
Charlie
David
Marcy
Geoffrey
Casey
Clayton
Bryon
Johnny
Beau

THANK YOU!

Ashton and Anna

Categories
Epic Barn Project Ranch

Epic Barn Project – Roof Completed

Well, I think we can finally say it’s all down hill from here.

When I started on this Epic Barn Project, I thought getting the poles all straight and perfectly placed was the hardest part of this barn. Then when I go to the roof, I thought that was the hardest part (as I’ll explain below). Now that we have completed those two difficult tasks, we only have walls left. These walls consist of 2×12 boards nailed vertically to the “cross beams”.  Thankfully that doesn’t take a lot of thinking, measuring or calculating to make sure it’s absolutely perfect. We may run into a couple difficult spots (where the rafters come out of the wall for example), but I think it will be easy peasy lemon squeezy compared with trying to calculate where all the roof purlins go… explained below.

Putting up the Second 1/2 Roof

Pretty much all of the material we are using for the Epic Barn Project (including the tin roof) came from our neighbor’s barn. It was just as cool as my barn, but I don’t call it an epic barn because I didn’t build it ;).

Since the roof tin has already been used on a barn, all of the screw holes have already been drilled through the tin. We got very lucky on this first roof because most of the holes were the same distances from each other and lined up with the purlins (wooden 2x4s we screw the roof to). There was only one small area where the purlins and holes didn’t line up.

Unfortunately, the other roof was very sloppy. The holes were all over the place because the old purlins were not perfectly lined up. Even the length of the roofing varied by up to 5 inches!

In this picture you can see that the holes on the top line up with each other, but the length of the tin extends much farther and the second set of holes (bottom) don’t match up either.

So I had to measure every roof tin, put the measurements into excel and put them all in the proper order. Then I had to calculate where the purlins would have to go to match up with all of the holes. Here’s the first half of the purlins: (You can also see the progress on the “West Gable”)